
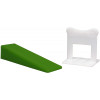
The Lev-Tec Tile Leveling Systems interlocking design holds the tiles together until setting, eliminating the effects of glue shrinkage, gravity and slight substrate imperfections-affecting the desired finish of your floor or wall project.
-
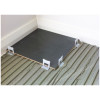
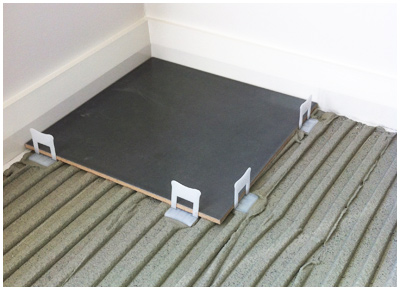
- STEP 1: Spread your tile adhesive and lay the tile. Place LEVTEC clips underneath the tile slightly back from the edge.
Keep the LEVTEC clip firm against the tile as the clip acts as a 1/16th spacer.
- STEP 1: Spread your tile adhesive and lay the tile. Place LEVTEC clips underneath the tile slightly back from the edge.
-
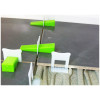
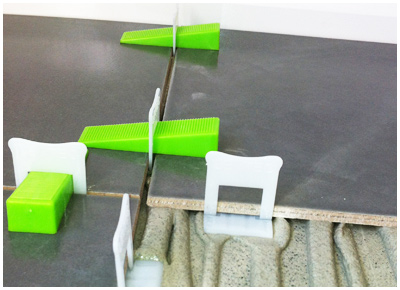
- STEP 2: TILE PLACEMENT
Set the adjacent tile firmly into the adhesive. Butt the tile against the LEVTEC clip giving the 1/16th joint (if a larger joint is required spacers can be used, or set the required joint size).
Slide the LEVTEC wedges through the LEVTEC clips until they are firmly leveling both tiles.
- STEP 2: TILE PLACEMENT
-
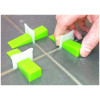
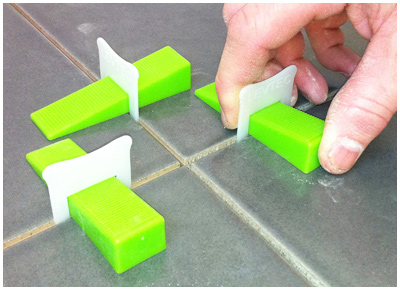
- STEP 3: INSERT THE WEDGE
Using your thumb, push the LEVTEC wedge with the right amount of pressure required to create the perfect finish.
Once the tiles are locked in position this is how they will stay until the adhesive sets. You can still slightly adjust the joint width while the adhesive is setting if needed without disrupting the height of the tiles.
- STEP 3: INSERT THE WEDGE
-
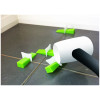
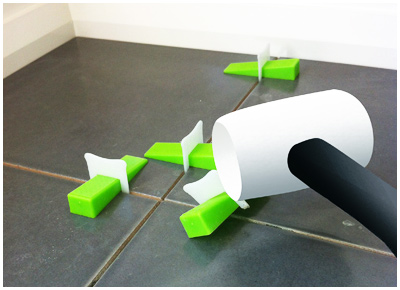
- STEP 4: REMOVE CLIPS
After the adhesive has set, you can remove the LEVTEC wedges and clips easily with a rubber mallet on the walls and by mallet or your foot on the floor.
Hit the LEVTEC clip on its side lug in the direction of the tile joint and the wedge and clip will dislodge from the tile at the breakpoint below the tile, leaving the joint free for grouting or silicone expansion.
- STEP 4: REMOVE CLIPS
<!–
SizeBox Size1/16″2501/8″2503/16″250Leveling Cap100Anti-Friction Shield100